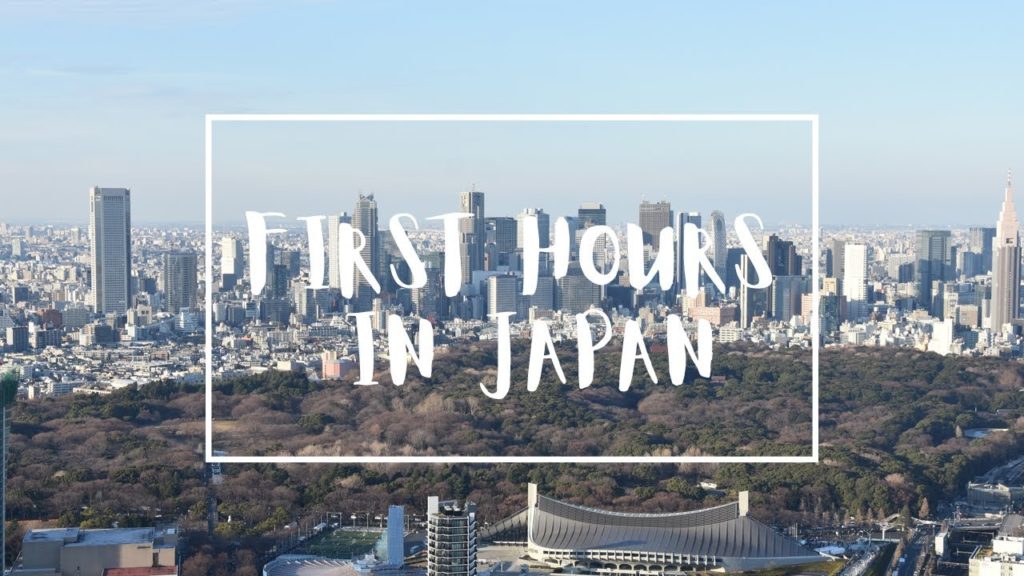
Here’s your Japan Travel Guide after landing in Narita Airport:
STEP 1: INTERNET
Get a SIM CARD or a WIFI MOBILE – There are many brands and plans from short term to long term just pick the one that suits you more.
If you are 2 or more the Wifi Mobile, it is a better plan as everybody can use it at the same time without having to share the hotspot every time.
STEP 2: GETTING TO TOKYO
There are different ways to get to Tokyo: bus, taxi, and train:
-BUS: There are a lot of buses outside the airport depending on your destination.
-TAXI/UBER: the TAXI is very expensive, I don’t recommend it.
-TRAIN: I recommend this solution since it’s the fastest and efficient way to reach TOKYO, you can purchase a ticket downstairs or use your JR PASS.
STEP 3: SUICA CARD
Getting a SUICA card can save you time, money and ease your trip around TOKYO.
You can purchase this card in the vendor machine, top it up (only with cash) and then when you get to the ticket barrier you scan it in and out.
This card can be used also outside TOKYO in other areas of Japan.
You can give your SUICA card back in at the end of your trip and get your deposit back: 500YEN. However, I preferred to keep it as a souvenir.
SHINJUKU AREA:
We had dinner at Shinjuku Gyoen Ramen Ouka. The food was very good and within a reasonable price range. We ordered the chicken and beef ramen even the chicken boiled balls were amazing. The staff was very friendly and hopeful.
However, you need to queue for a long time, make sure to avoid peak hours, as it gets very busy.
Ps. Don’t order too spicy.
— EQUIPMENT INFORMATION —
Cameras used: OSMO POCKET, iPhone XR
Thank you for watching!
PLEASE SUBSCRIBE FOR WEEKLY VLOGS AND FLIGHT REPORTS!
#TOKYO #JAPAN #SHINJUKU #NARITA #AIRPORT


AloJapan.com